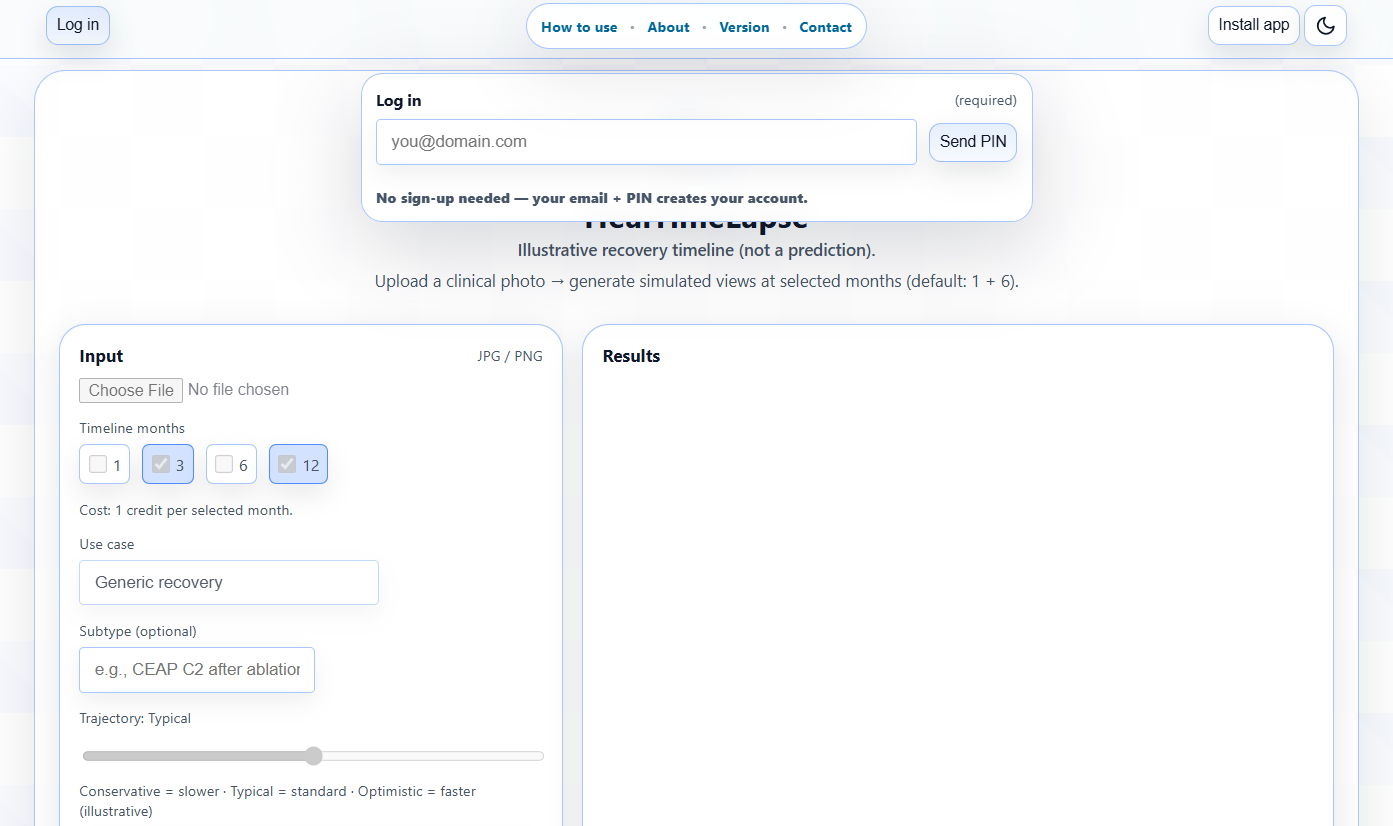
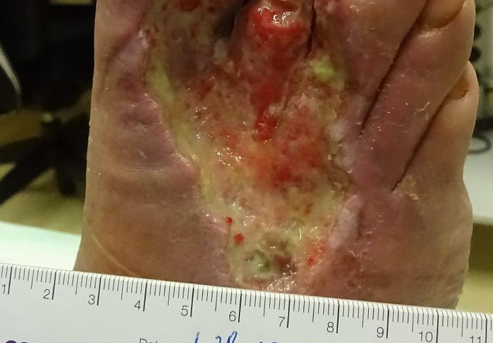
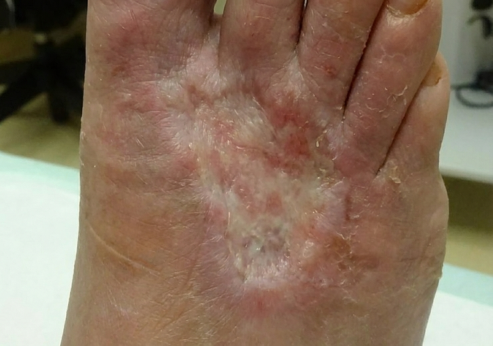
HealTimeLapse Illustrative recovery timeline (not a prediction).
Upload a clinical photo → generate simulated views at selected months (default: 1 + 6). Default mode is automatic; overrides are in Advanced.
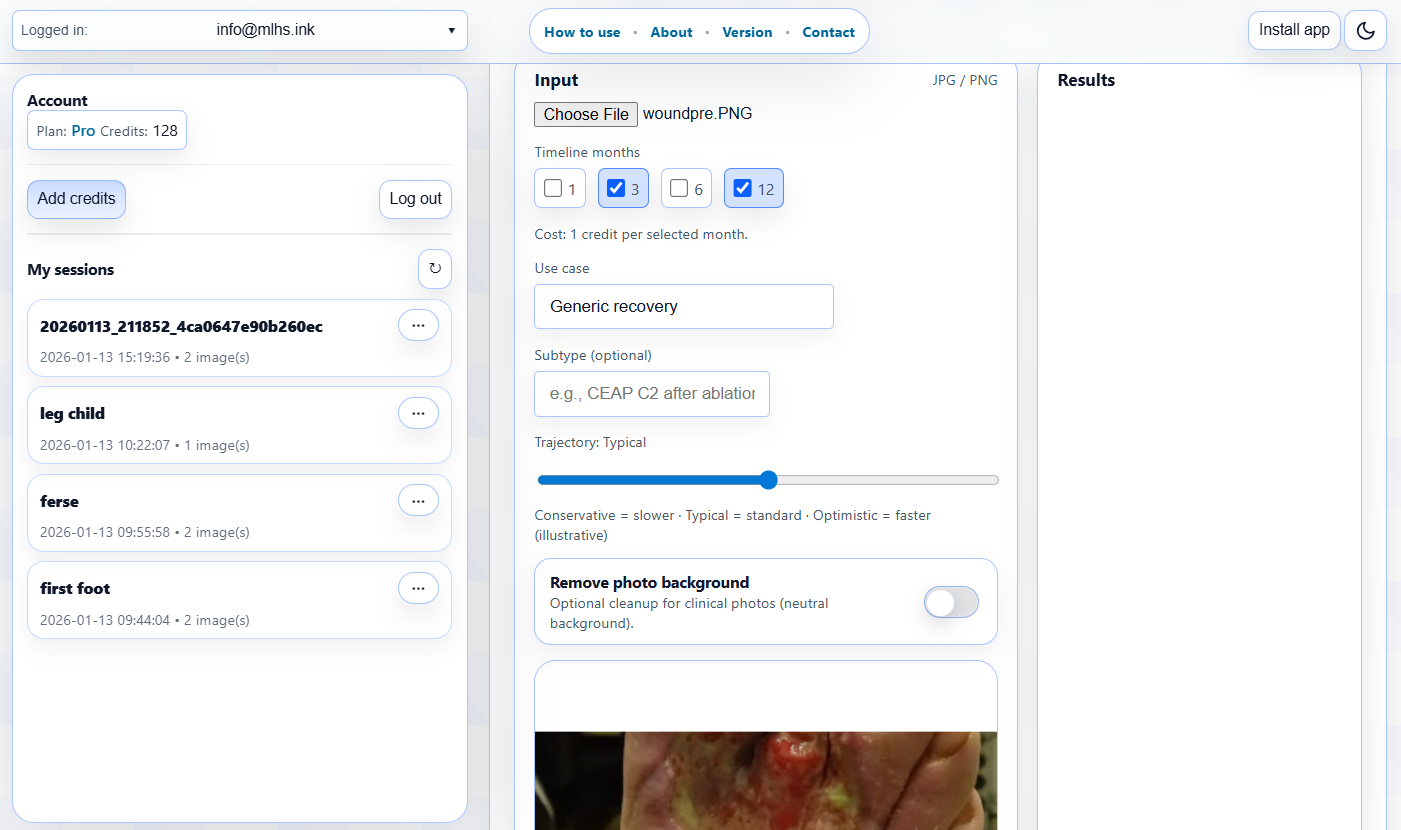
Input
JPG / PNG
Cost: 1 credit per selected month.
Advanced settings
Optional overrides (use case, subtype, trajectory, background)
Optional overrides (use case, subtype, trajectory, background)
Leave “Generic recovery” for automatic behavior.
Conservative = slower · Typical = standard · Optimistic = faster (illustrative)
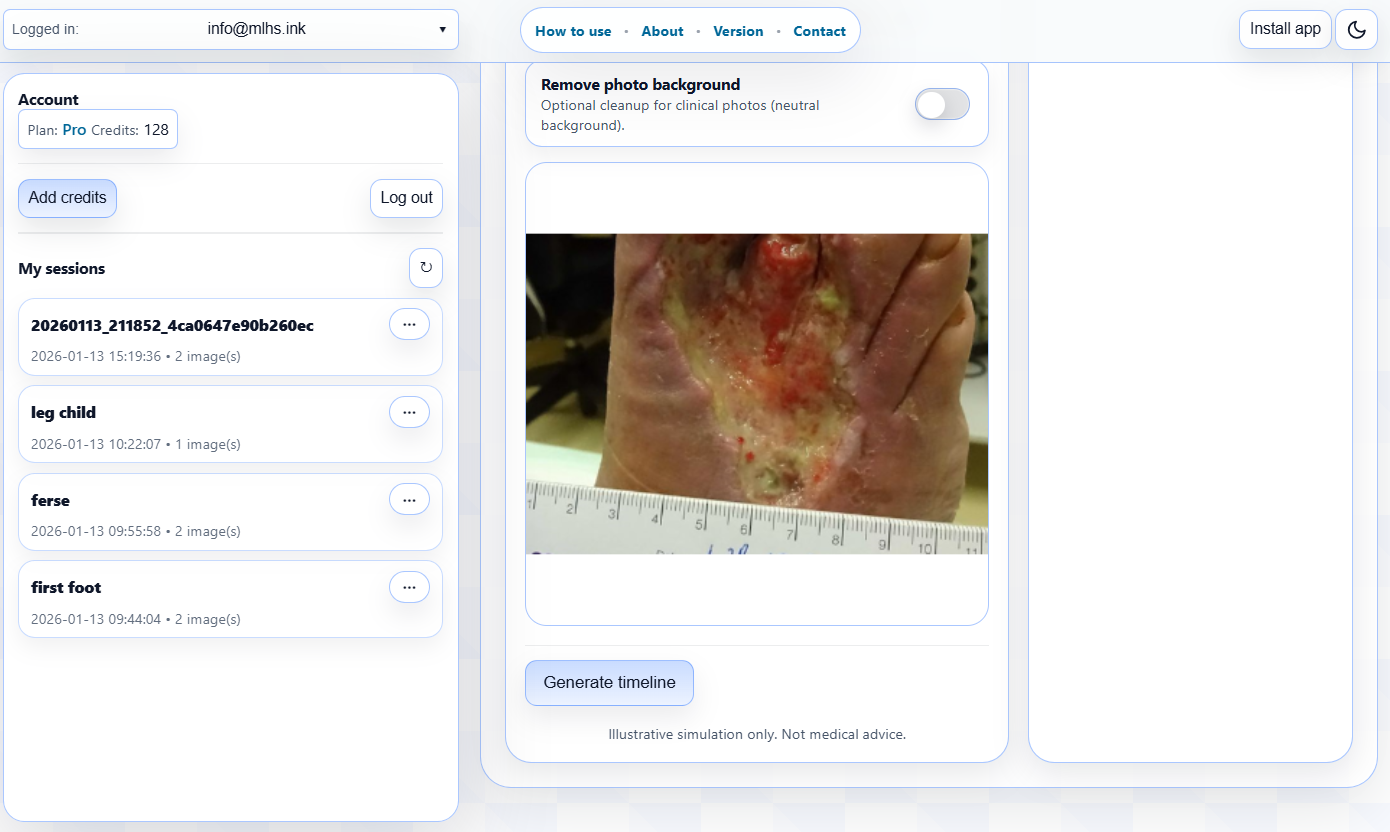
Remove photo background
Optional cleanup for clinical photos (neutral background).
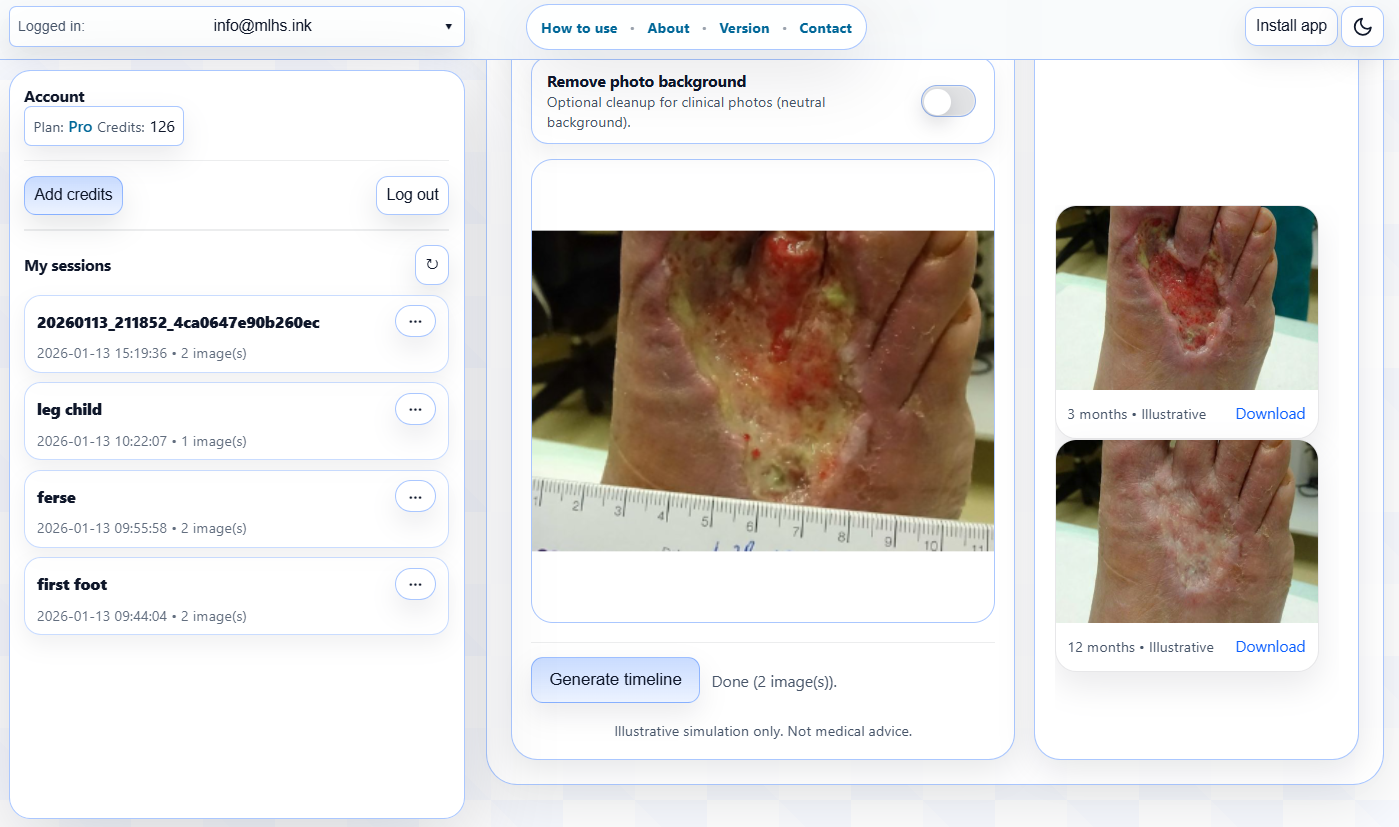
Illustrative simulation only. Not medical advice.